
These are what we mean by "little contacts". They end in a pincer that grasps the wires of the data connector
How to connect an internal 3 1/2 disk drive to an Amstrad CPC 6128 or CPC 6128 +
------------------------------------------------------------------------------
You can find some instructions on how to make this project in the web page of Phenix Informatique (http://phenixinformatique.free.fr/lecteur_312i.htm; the URL of the home page is http://phenixinformatique.free.fr), in French language. They're quite different to my instructions, but I used them to write these.
To do this project, you will need: one 3 1/2 disk drive, the data cable used to connect a 3 1 / 2 drive to a PC (aka shuggart), a little switch, a soldering iron and some solder, a drill and a cutter.
To start off with, open the computer and take out the 3" disk drive. You have to disconnect the big grey data cable and the little power cable (to take this out, perhaps you will need a little screwdriver). You also have to unscrew the ground cable, which is attached to a side of the 3" drive in the CPC 6128 +. In the case of the classic CPC 6128, the ground cable will be disconnected when you take out the 3" drive.
From now, the project is divided in three parts: the first one is referred to the changes the CPC data cable will need to support the new 3 1/2 drive (this part is common for the CPC 6128 and for the CPC 6128 +); the second one refers to the power cable and what it needs to feed the new 3 1/2 drive; the third part tries to explain what you'll need to do within the case of the computer in order to suit the new drive in it.
1st part: The data cable
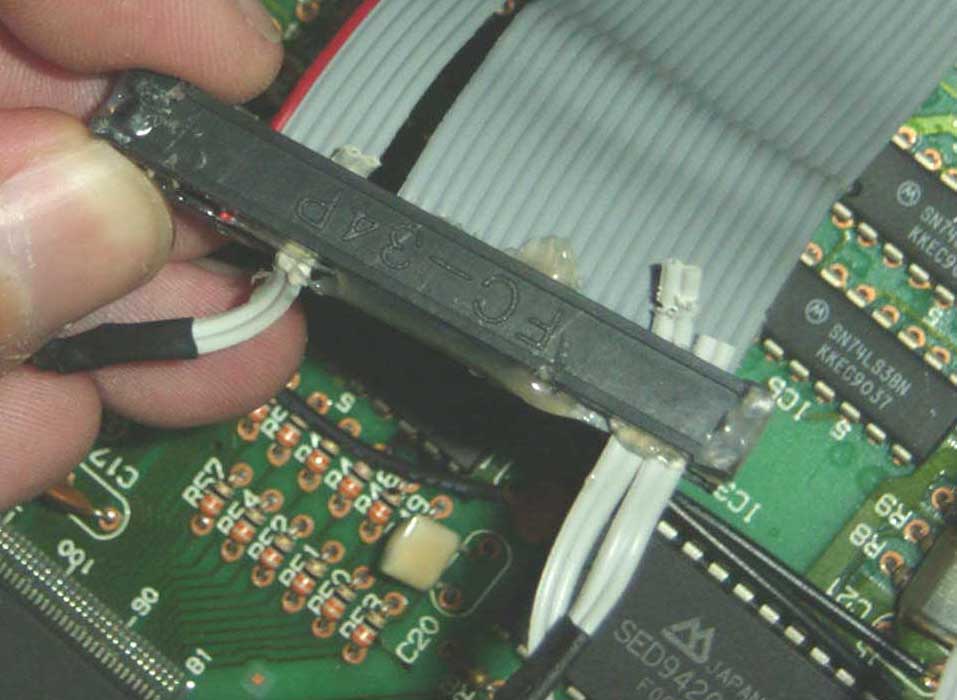
Here is the first difference between our project and the Phenix Informatique's one: we don't use a PC data cable that you have to solder, wire by wire, to the data cable of the CPC. We only use the CPC data cable, to which we attach the 3 1/2 drive connector of the PC data cable. To do this you don't need to use the soldering iron, just do as follows:
These are what we mean by "little contacts". They end in a pincer that grasps the wires of the data connector
Now, we continue connecting the CPC data cable to the 3 1/2 connector. Wire #7 must be joined with contact #15 (contacts #13 and #14 are not connected); wire #8 with contact #16, #9 with #17, #10 with #18, and so on until we finish. The latest join is wire #26 with contact #34, and it's done! However, don't glue the top of the connector with it now, we've three issues more to deal with.
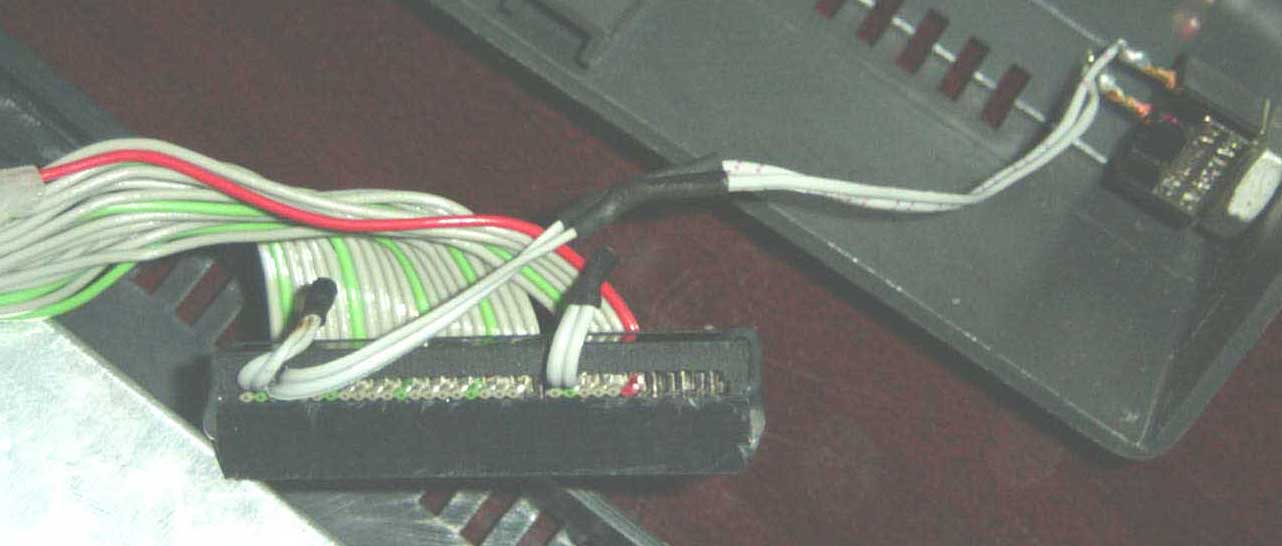
First, you have to join the contacts #11 and #12 each other, so the computer can recognise the 3 1/2 disk drive as "A:". You have also to join contacts #33 and #34, for the drive to be "ready" for the computer. Finally, you have to place a switch between contacts #31 and #32 so you can select each of the two sides of the 3 1/2 disks (to know exactly how it works and the signals of each wire, look at these: http://phenixinformatique.free.fr/PLAN-PC.htm#floppy PC, and http://phenixinformatique.free.fr/PLAN-CPC.htm#Floppy interne CPC).
The best way to do this, I think, is to join some little wires with the contacts we need to join/switch, over the CPC data cable; it's showed in the pics.
The wires we need to join/switch contacts #11-#12, #31-#32 and #33-#34. The pincers of the contacts are long enough to grasp them too
I joined three pairs of little wires to the contacts #11-#12, #31-#32, and #33-#34. Then, I soldered the opposite sides of the wires that were connected to contacts #11-#12 and #33-#34. The wires joined to contacts #31-#32 were soldered to a switch.
With respect to this part of the project, you have to take in account three matters. First, it's convenient to isolate the end of the wires we have soldered.
Second, the wire which ends in the switch needs to be long enough to be attached to the case, so you don't need to open it when you want to change between the sides of the disk.
The wire is long enough for attaching the switch to the case
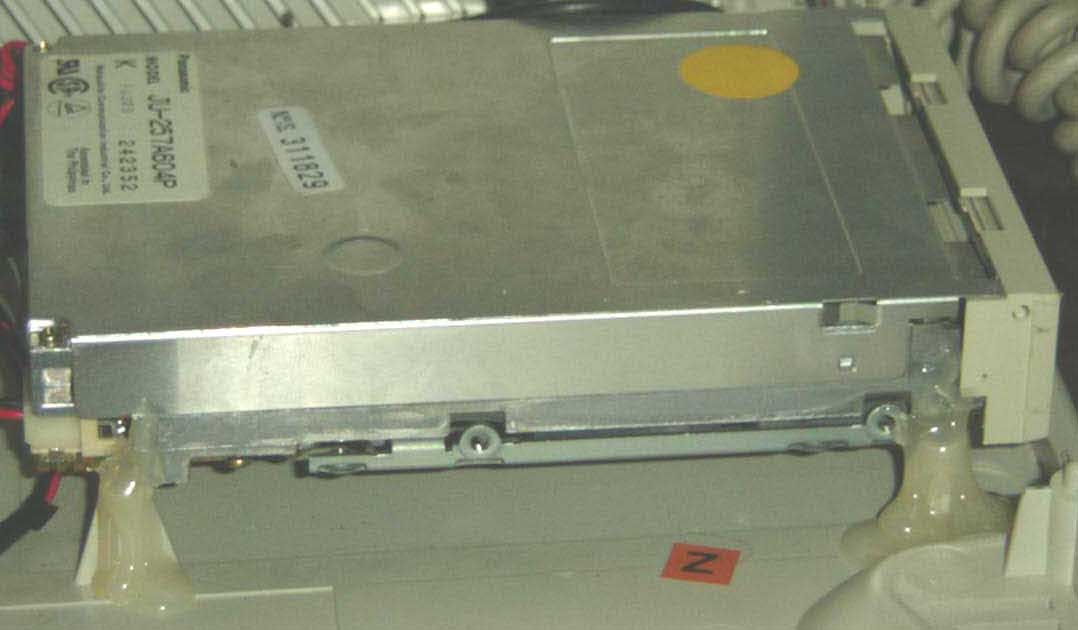
And third, for those who want to do this on a CPC 6128 +: the CPC + data cable is very short. So it's difficult to make the project as I've explained. You have two solutions: to follow the instructions of the Phenix Informatique site, which means that you've to extend the data cable (and to solder it, wire by wire); or to look for a 3 1/2 disk drive with the data connector on the left (viewed from rear), as it's placed in the 3" drives and in the Panasonic 3 1/2 drives, for example (this model of Panasonic is the same you can use in a Commodore Amiga with few modifications).
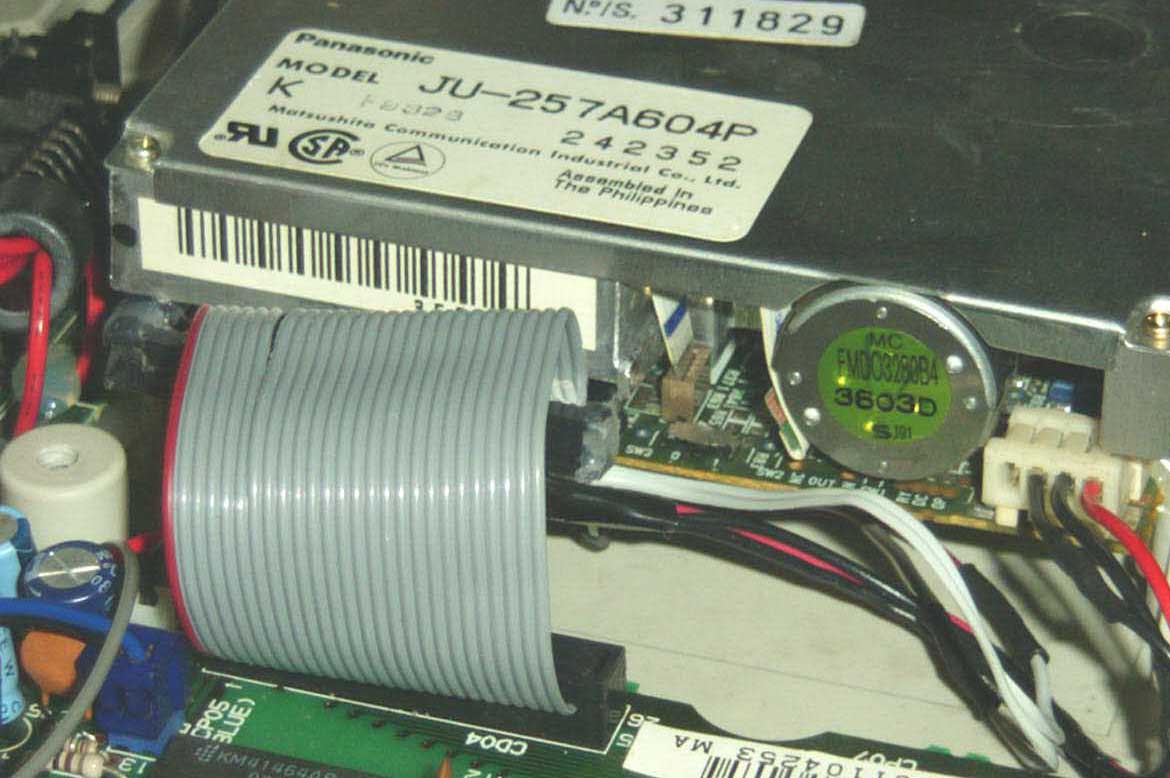
Panasonic 3 1/2 disk drive, with the data connector in the left side
2nd part: The power cable
The power connectors for 3 1/2 drives and for 3" drives are the same, but you can't use the power cable directly with the 3 1/2 drive. To solve this problem, you have to know that:

Adapted power cable in a CPC classic model

Adapted power cable in a CPC +
3rd part: Modifications to the case
1. Within the Amstrad CPC 6128: you need to cut some pieces of the case and make a hole for the switch.
I made the hole for the switch with a drill, on a side of the case. There aren't many more places other than this of the pic to install the switch on the case.
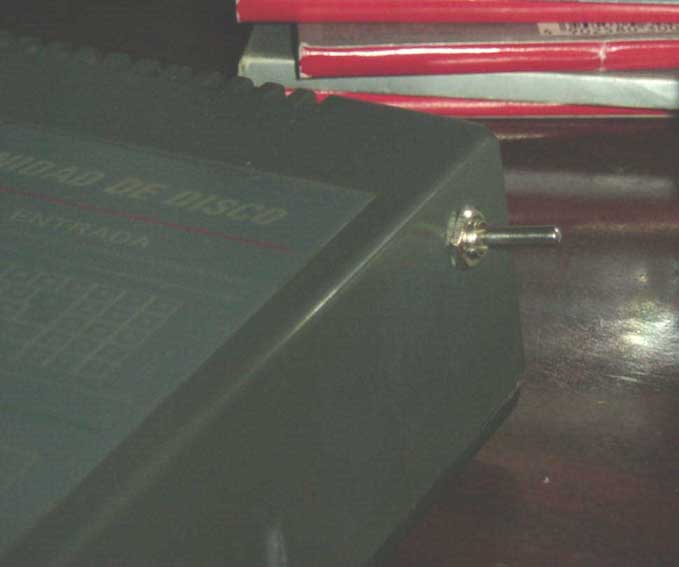
The switch that allows changing between each faces of the disk, viewed from inside and from outside the case
The modifications to the case are the tricky part. As the hollow for the 3" is more little than the 3 1/2 drive, you have to cut the case, trying to put the front of the new drive at the same level of the case. First, I chose to glue the drive to the bottom of the case with thermic silicone, cutting the plastic pieces to which the 3" drive was joined. By doing this, it easier to cut the case, because the hollow for the drive is wider in the bottom, and narrower in the top (the other option is to put the 3 1/2 drive over the plastic pieces to which the old 3" drive was attached; if you do this, tell me how it looks). I also needed to file some inside parts of the case. At the end, the job looks like this:
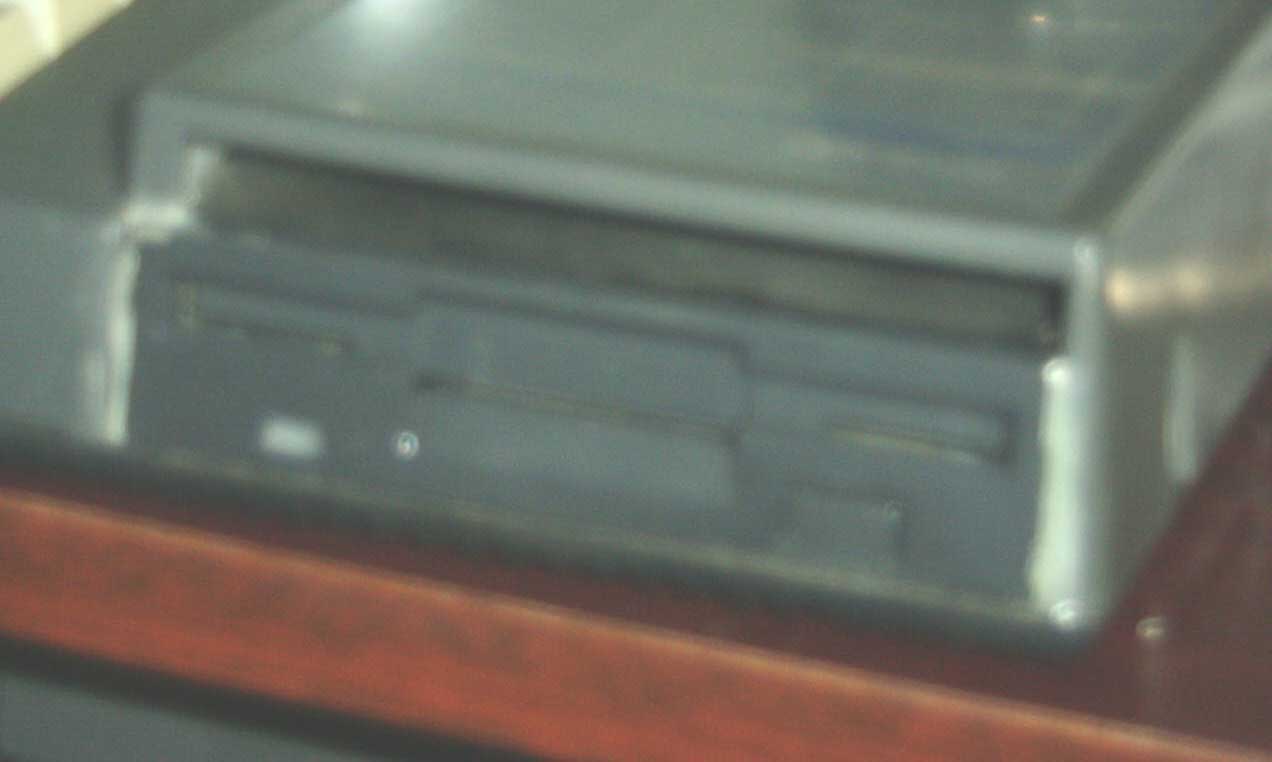
It looks worse in the photo than in the reality ;-D. The white borders are thermic silicone. I also painted the plastic front of the drive in dark grey with model paint.
Attention: don't forget to screw the ground cable again to any (metallic) part of the new drive.
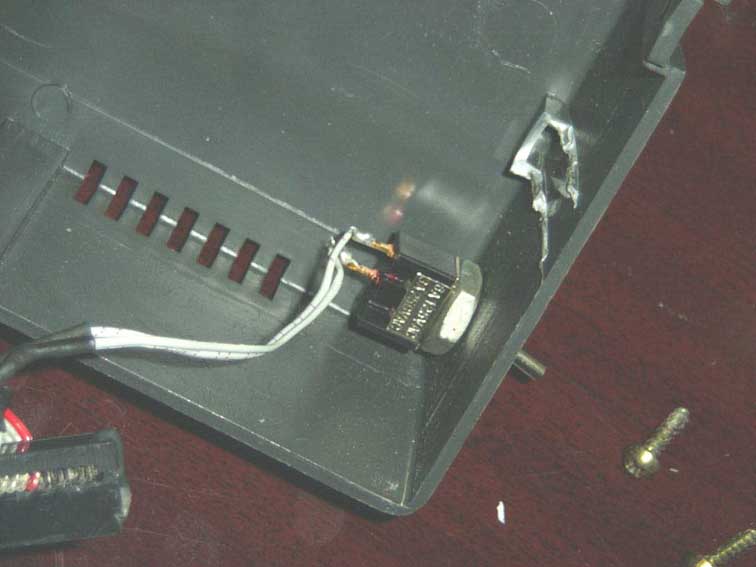
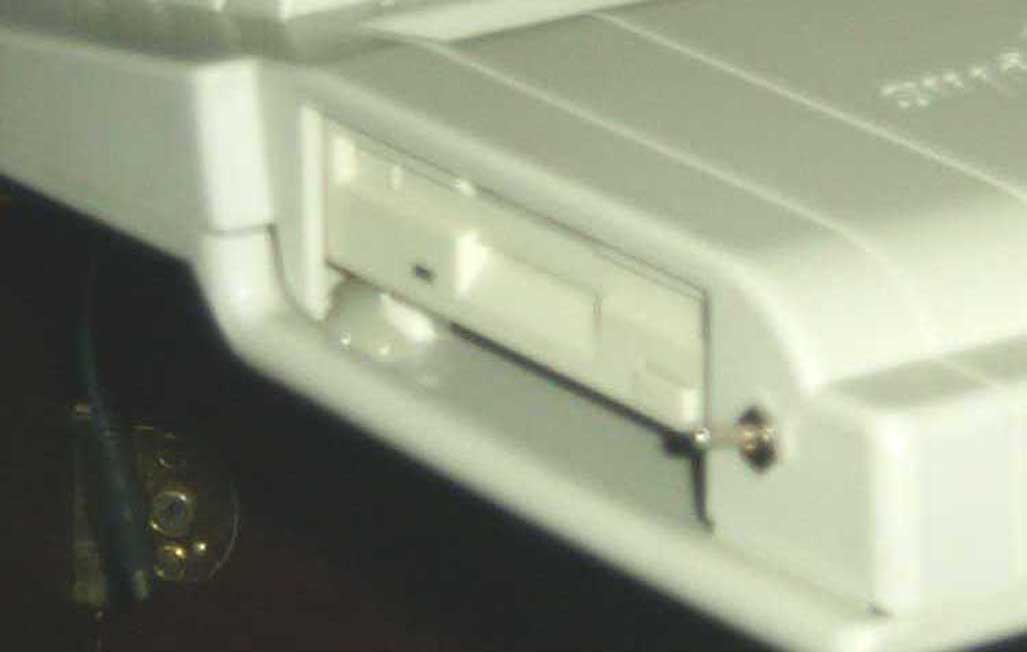
2. Amstrad CPC 6128 +: As with the classic CPC 6128, you have to drill a hole for the switch. The hole here is in a place very similar to the one of the old CPC.

The switch for changing the face of the disk in the CPC +. The black pieces at the left are reset and pause buttons
As for the hollow of the drive, you don't have to cut any part of the case, because you can place the front of the drive behind the case, or better said all the drive inside the case. The hollow is big enough to insert 3 1/2 disks in the drive.
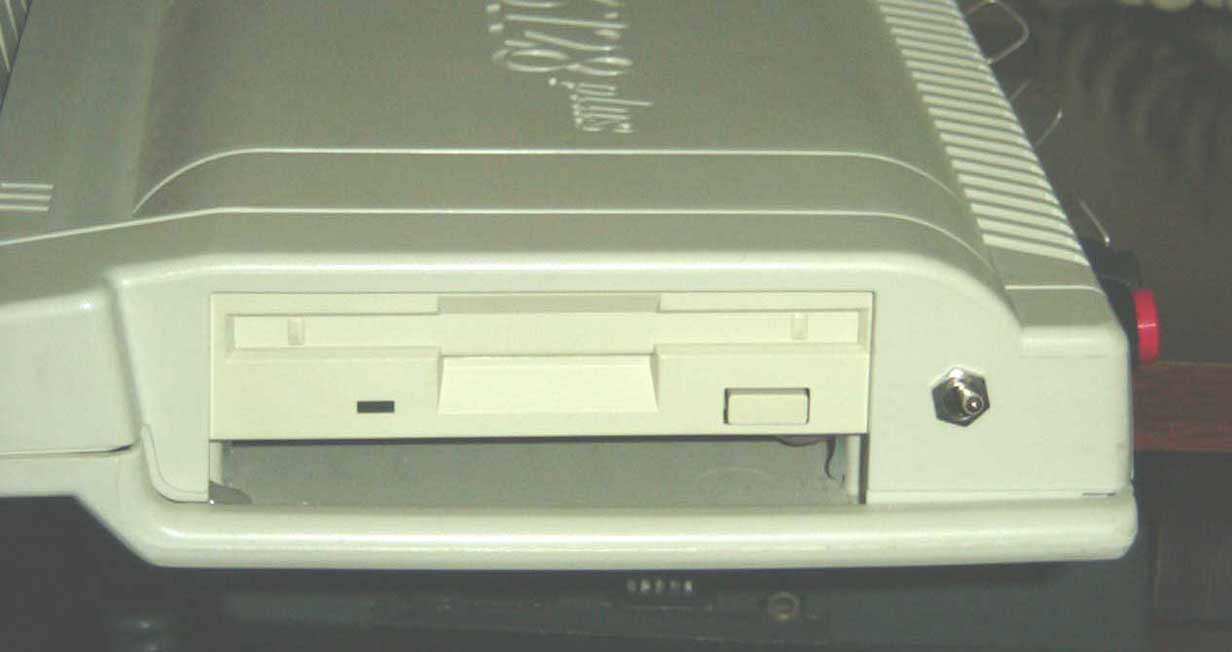
The new 3 1/2 drive installed in a CPC +. It looks better if you put a plastic piece under the front of the drive, hiding the interior of the computer
I glued the 3 1/2 drive to the plastic pieces to which was screwed the old 3" drive. I stuck it with thermic silicone; by doing this, I could move slightly the drive until it fitted with the top of the case.
The drive glued to the case with thermic silicone
Finally, we warn you one more time: don't forget to screw the ground cable again to any (metallic) part of the new drive.
Written in spanish by j.f.
Translated by j.f., with help of Hopers 13, AlfredoLambda and Merijeez
And thanks to José Juan Sánchez Muñoz for lending us his camera ;-D
E-mail:
deepfb2002@yahoo.es